
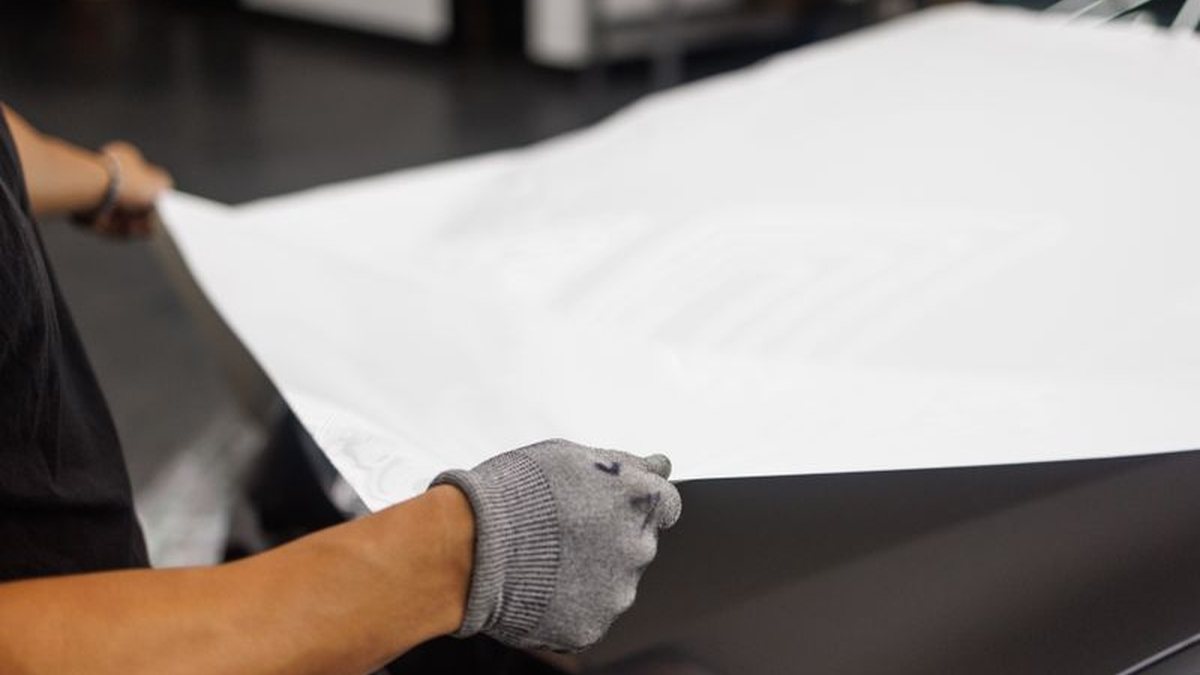
Applying self-adhesive film is far easier than it looks — with the right preparation, the right tools and a patient hand, you can give any surface a professional-looking makeover. In this guide we walk through the steps for wrapping a kitchen cabinet door from start to finish, the tricks for difficult surfaces and the most common mistakes.
What determines the quality of an application is not the sticking, but the preparation. On a clean, smooth surface, film stays put for years without a hitch.
Materials you need
- Self-adhesive covering film (5 cm extra on every side beyond the area to be covered)
- A plastic spatula or squeegee (air remover)
- A sharp utility knife and spare blades
- A metal ruler / square
- An alcohol-based cleaner and a microfiber cloth
- A heat gun or a powerful hair dryer
- A pencil or an erasable marker
Step-by-step application
1. Prepare the surface
Wipe the surface to be covered thoroughly with an alcohol-based cleaner. Grease, dust and detergent residue are the number-one reason adhesion fails. Remove the handles and screws from the door; take off the hinges if possible. Fill deep scratches and gaps in the surface with filler and sand them down, then wipe again.
2. Measure and cut
Measure the surface and cut the film so it overhangs each edge by about 5 cm. This margin is needed to fold the edges around the back and to make up for any alignment errors. The gridded paper on the back of the film makes cutting straight easier. To work out how much film you need in advance, you can use the m² calculator on our product pages.
3. Start applying the film
Peel back about 10–15 cm of the backing paper from the top; do not remove all of it at once. Align the film along the top edge and press it down lightly. As you slowly pull the backing paper away with one hand, press with the spatula in your other hand from the center outward, in broad sweeping arcs. This method pushes air bubbles toward the edges.
4. Finish the corners and edges
When you reach the edges, fold the film around the back. The film stretches tight at the corners; at this point, warm it gently with a heat gun on a medium setting. Warmed film flexes, stretches and takes the shape of the corner. Trim the excess along a clean line with a utility knife.
5. Remove air bubbles
Smooth any small remaining bubbles toward the edge with the spatula. If a stubborn bubble persists, prick a tiny hole with a needle tip to release the air and press it flat — the hole is invisible to the eye.
6. Final check and curing
Go over the whole surface with the spatula from end to end to strengthen the bond, pressing especially firmly along the edges. To let the adhesive cure fully, keep the surface away from water and do not stress it for 24–48 hours.
Tips for tricky surfaces
- Glass and tiles: The wet method works well — spray a few drops of soapy water onto the surface, slide the film into alignment, then squeegee the water out with the spatula.
- Oval and curved surfaces: Heat and stretch the film with a heat gun; it holds its shape as it cools.
- Deep panel/molding details: Warm the film and press it into the recess with a finger or a blunt tool, then trim the edges.
- Large surfaces: If it is hard to manage alone, applying the film in strips with a 2–3 mm overlap gives you more control.
The 5 most common mistakes
- Not cleaning the surface enough: The most common mistake. An invisible layer of grease causes the film to lift at the edges.
- Removing all the backing paper at once: The film sticks to itself and creases. Always peel it back gradually.
- Forcing a cold corner: Film stretched without heat pulls back at the corner. A heat gun is essential.
- Leaving too little margin: Without an edge margin, an alignment error cannot be corrected.
- Cutting with a dull blade: As the tip goes blunt, the film tears. Change the blade often.
Frequently asked questions
How long does it take to wrap a kitchen?
Depending on your experience, all the doors of a medium-sized kitchen can be wrapped in 4–8 hours. A single cabinet door takes 15–20 minutes.
Which is better, the wet or the dry method?
On porous/matte surfaces like wood and melamine, the dry method gives a stronger bond. On slippery surfaces like glass, mirror and tile, the wet method makes alignment easier.
What should I do if the film bubbles?
Small bubbles are fixed with a needle hole and some pressure. A large bubble is usually a sign of a dirty surface; you need to peel that area back, clean it and reapply.
Ready to start?
With the right film and a little patience, you can comfortably complete your first project. For the full walkthrough with images, take a look at our Application Guide page, and choose the pattern that suits your project from the Homecc collection.